Terminal UIs: starting with Ratatui
Having added tracing to the application, I’ve got a lot of visibility into what’s going on under the hood. However, it’s not exactly user-friendly: parsing the tracing output is no fun at all. I think it’s time to pay more attention to the application’s user interface. In particular, I’m interested in developing a terminal user interface application, inspired by many popular Linux command-line tools, such as htop.
Approaching the application user interface
Let’s consider a few possible approaches to building the application user interface:
-
The first option that comes to mind is to outsource the UI work completely into a separate project. Our client could provide a Web API to query the download progress. There is a bunch of Web frameworks to build Web servers in Rust (Axum, Actix Web) that would help us with this task.
-
The second approach would be to build a fully-fledged desktop application using Tauri. Tauri is a framework for building cross-platform applications for desktop and mobile platforms. You build your application logic in Rust, and the UI layer using any modern Web front-end framework, such as React or Vue.js. As far as I understand the technology underneath, it is similar to Electron for JavaScript/TypeScript desktop applications.
-
Finally, we can stay completely in the terminal world and still build a rich UI application: so-called Terminal UI application, or TUI for short. There are a few frameworks and libraries for Rust that help you build rich TUI applications, one popular option being Ratatui.
All of these options look very compelling to me, each one providing a lot of opportunities to learn. The first two, however, would require me to leave Rust land for the front-end work. They also look like a bit of an overkill for small applications.
I’d like to stay in the Rust ecosystem for now, so I decided to move forward with the third option: build a UI layer for my BitTorrent client fully in the terminal, with the help of the Ratatui library.
“Hello World” in Ratatui
The first thing to notice about Ratatui is that it’s a library of useful tools, not a UI framework. What’s the difference? Well, a framework would usually handle the entire application lifecycle, providing the developer with the extension points to plug in your specific business logic. It usually hides a lot of pesky low-level details from the developer and minimizes the amount of boilerplate code irrelevant to the application’s business logic.
You won’t see that with Ratatui. Rather, Ratatui is a toolkit of useful UI abstractions that work on top of the terminal backend library. The terminal backend provides an API to manipulate the terminal on a very low level: display text in different colors and styles, read events like keystrokes or mouse clicks, etc. On top of that, Ratatui adds a higher level of abstractions that allow you to work with the terminal in terms of widgets: the building blocks of your user interface. However, it’s the developer’s responsibility to write the code that handles the application lifecycle and binds different pieces together.
The upside of such a lightweight approach is that the library doesn’t confine you to a particular application paradigm or architecture: you’re free to choose whatever style you like. The downside, though, is that the developer is responsible for writing a bit of boilerplate code to manage some low-level details, that would otherwise be provided by the UI framework.
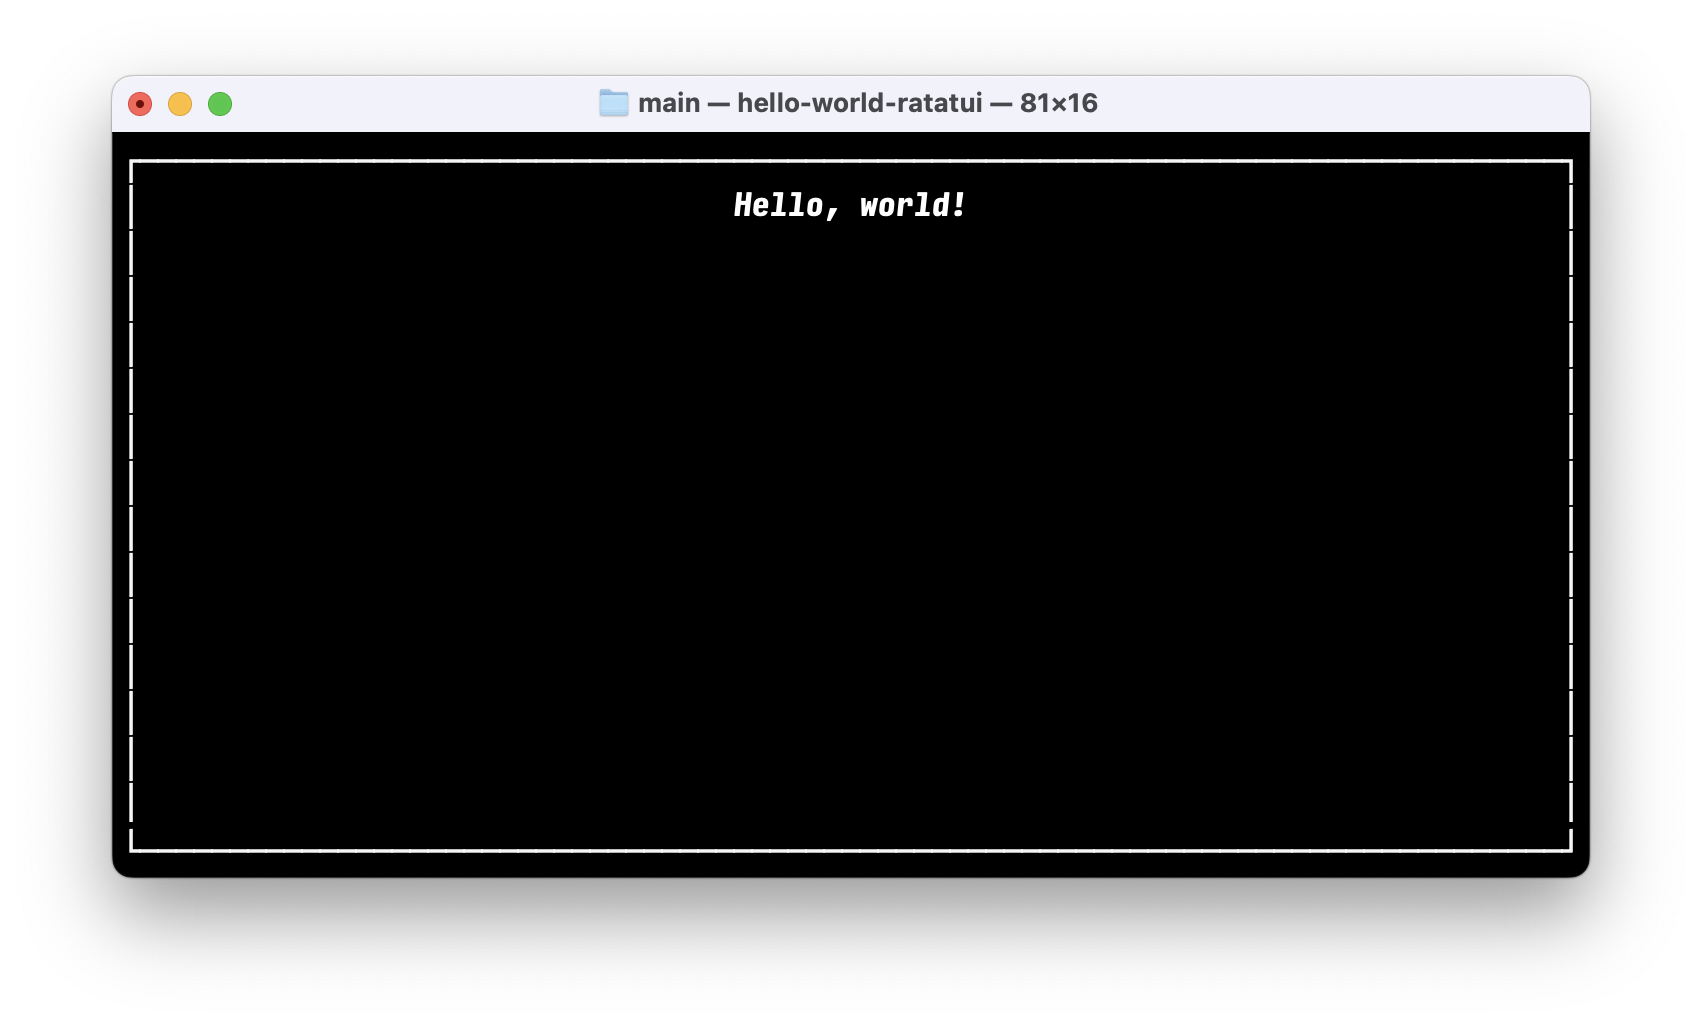
Let’s have a look at the simplest Hello world application in Ratatui and explore the important parts.
use ratatui::{
    crossterm::event::{self, Event, KeyCode},
    style::Stylize,
    text::Line,
    widgets::{Block, Paragraph},
};

pub fn main() {
    // 1: Initialize the terminal
    let mut terminal = ratatui::init();
    // 2: Enter the render loop
    loop {
        // 2.1: Render the UI
        terminal
            .draw(|frame| {
                let text = Line::from("Hello, world!").bold().italic();
                let widget = Paragraph::new(text).centered().block(Block::bordered());
                frame.render_widget(widget, frame.area());
            })
            .expect("failed to draw frame");
        // 2.2: Wait for user input
        match event::read().expect("failed to read event") {
            Event::Key(key) => {
                if key.code == KeyCode::Esc {
                    break;
                }
            }
            _ => (),
        }
    }
    // 3: Restore the terminal
    ratatui::restore();
}
First, we initialize the terminal and put it into the raw mode. In this mode, the application takes full control over the terminal: there’s no line buffering or special character processing from the terminal’s side. This step is combined with the step 3 at exit: we need to restore the “normal” terminal mode when the application quits.
Next, we enter a main application render loop, which is essentially the center of an interactive application. The render loop performs two important tasks repetitively:
- It draws the application UI in the terminal (step 2.1);
- It reads and processes the events from the terminal (step 2.2).
Let’s examine the application structure in more detail.
Widgets
We think about and code the UI in terms of widgets. Essentially, a widget is a rectangular area on the screen that displays some element of application UI in a particular manner. There is a rich set of widgets already inside Ratatui, and also there is a growing number of widgets for Ratatui that are developed by the community. If that’s not enough, it’s not too hard to implement your own custom widget tailored to your particular needs.
In our Hello World example, we make use of the Paragraph widget, whose primary purpose is to display some text on the screen. We also use Block widget in concert with Paragraph to draw a border around the entire block of text.
Block is one of the foundational widgets in Ratatui that allows you to add styled borders, titles, and paddings to other widgets. In essence, it acts as a container for other visual elements of the user interface. Most built-in widgets in Ratatui use a pattern where they can be parameterized by a Block that wraps the widget’s main content.
Finally, it’s worth mentioning the Line struct that we use to create a stylized text. Modern terminals allow you to display text with different styles: bold, italic, with various background and text colors, etc. Line struct gives us a nice abstraction to work with a single line of text and control text style and alignment. Two other useful structs that work with text are:
Spanrepresents a piece of independently styled text inside the line;Textwhich is essentially a collection ofLines, with its own style and alignment settings.
All in all, Span, Line and Text give us very fine-grained control over how a multi-line block of text should appear on the screen. Since text is our primary mode of displaying the information in the terminal, it’s worth spending some time understanding what capabilities these structs provide.
Immediate mode rendering
One other thing to mention is that Ratatui approaches rendering the UI in a manner called immediate mode rendering. In this paradigm, the entire set of UI widgets is recreated every time the screen is updated. It’s a very interesting approach, and it’s different from a more conventional retained mode, where the widgets that comprise the UI are created at the start and then update their internal state throughout the application lifecycle.
The fact that widgets are not retained between renders in Ratatui is emphasized by the design of the Widget::render() method. It is a consuming method, which takes ownership of self: you can’t hold a reference to the widget object and manipulate it after the render function is called on it. One way to think of the immediate mode rendering is that the render function is a transformation of the application state into a set of widgets drawn on the screen.
Handling terminal events
After the interface elements are rendered on the screen, our “Hello world” application pauses and waits for the user input. Remember that in raw mode our application has full control over the terminal input. The input from the user comes as a stream of events, such as:
- Keyboard events;
- Mouse events;
- Other events, such as resizing the terminal window.
Ratatui doesn’t directly expose any event handling mechanisms; the programmer interacts with the terminal backend directly to receive the terminal events. In our case, we call crossterm::event::read() function that blocks the execution of the render loop until a terminal event is received. We then analyze the received event content: if the Escape keyboard button was pressed, we break the loop and quit the application. Otherwise, we go to the next iteration of the render loop; implicitly we react to all other terminal events by re-rendering the UI. As a side effect, this also handles the resize events from the terminal: if you resize the terminal window, you’ll see that the “Hello, world!” text stays centered.
It’s important to mention that read() function is blocking: the render loop is paused until the user interacts with the terminal in some way. This is crucial: without some form of pausing the execution, the render loop would continue spinning non-stop, wasting CPU resources on redundant re-renders.
Another function from crossterm we may consider is poll(). This function allows us to check beforehand if an event is available to read. It blocks until the event is ready, but unlike read() that blocks indefinitely, poll() will exit after a given timeout.
Using poll() can be useful if we want to redraw the application from time to time, regardless of the user actions. For example, we might use this function if the application performs some background work and we want to update the UI from time to time to visualize the changes that happened in the background, combined with a possible input from the user. Essentially, it’s a way to merge different streams of events (background task updates and user events) via a polling mechanism.
Other considerations
A simple “Hello world” application doesn’t cover all features of Ratatui. I’ll mention just a couple of other aspects that become important for a typical real-world interactive application.
Dynamic layouts
Apart from the widget library, Ratatui also comes with the Layout struct that helps the developer create the user interface that responds dynamically to the resizing of the terminal window. I haven’t used it yet, but I’m sure it will become handy when the application UI evolves into something bigger.
Application state management
As the application gets bigger, a disciplined approach to managing the application state becomes more and more important, in order to prevent the solution from evolving into an unmaintainable mess. In that regard, Ratatui takes no responsibility: it’s the developer’s task to come up with the appropriate architecture. The upside is that there are no restrictions from the Ratatui’s side which approach to take.
A few suggestions on application state management are described on the Ratatui website. I’m not sure which approach to take yet. I think I’ll start from something simple and see how the application evolves over time.
A high-level picture
To help me reason about a typical interactive terminal application, I’ve summarized the application main loop in the following diagram:

Next steps
This section was more of an overview of Ratatui’s capabilities in general. In the next section, I’d like to get more specific and reason about the structure of an application that performs a long-running task in the background. In contrast with typical UI applications that react to the user input, long-running background tasks present some additional challenges for developers.